Playing with iPhoneography in LaJolla
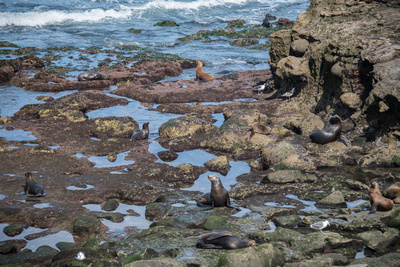
On a recent trip to southern California, I spent a day in La Jolla. What a gorgeous seaside town for an adventure! It has everything a tourist could ask for... a coastline with beautiful views, caves and kayaking opportunities, sea lion and bird watching, as well as great restaurants, art galleries and shopping. I met a friend for lunch, but decided to spend some additional time with my favorite pastime, photography, of course!
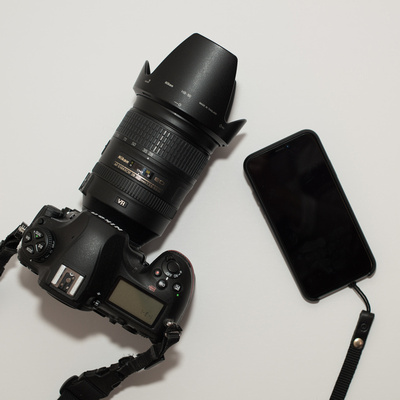
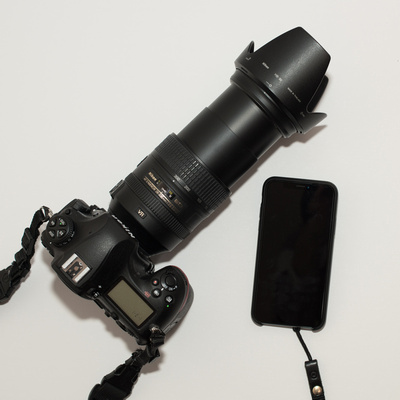
I brought along both my DSLR and iPhone cameras. If you follow me on either Facebook or Instagram, you know that I've been playing with my iPhoneography and experimenting to learn when I prefer one camera over the other. In general, I am concluding that the two cameras pair well on vacation.
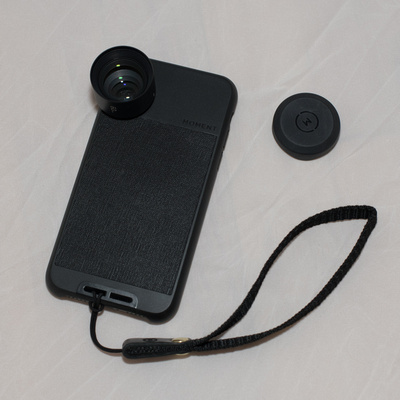
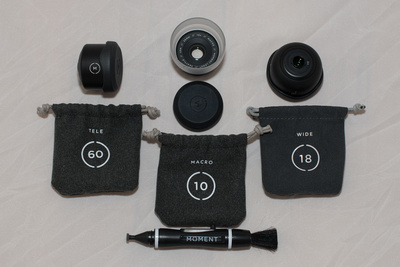
As you can see, my iPhone X is much smaller and less obvious in a crowd. I use the iPhone's basic camera and photography apps that come pre-installed on the smartphone, as well as several inexpensive and free camera and photography apps available in iOS and Android app stores. I occasionally attach an add-on lens (tele, wide angle or macro) from Moment. The add-on lenses require a Moment smartphone case and camera app. The case is slim, but protective, and allows for a secure screw-on attachment. The camera app is simple to use and allows for manual adjustments. Lenses are also small enough that they easily slip into a purse when I don't want to carry around a camera bag full of equipment. My iPhone case has a small hole in the bottom for attaching a wrist or neck strap. When using both cameras, I tend to walk around with my DSLR around my neck and my iPhone around my wrist. The result is quick access to whichever camera I am inclined to use in the moment. I simply love the fact that I'm getting better and better pictures with my smartphone camera, with a lot less effort and weight. My iPhone camera now feels like a legitimate camera option!
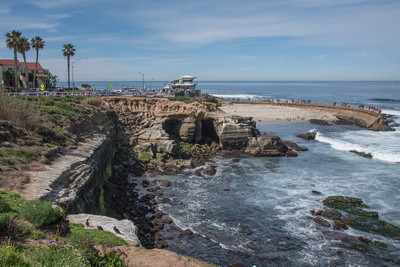
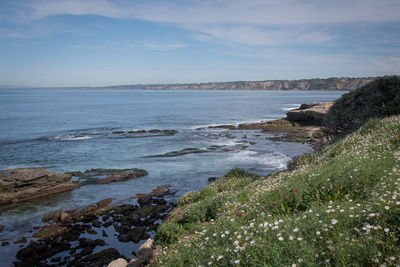
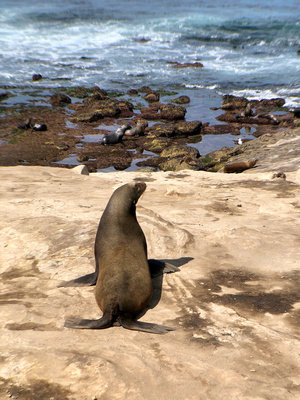
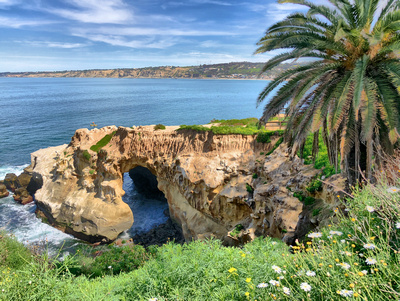
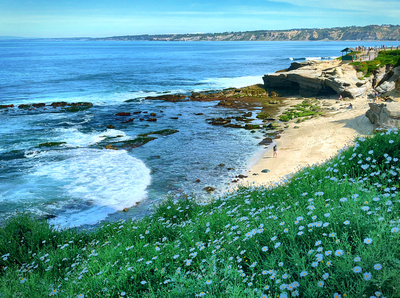
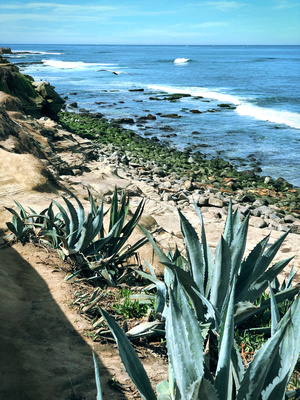
Back to the DSLR -- as usual, I was very happy with the scenic photos that it produced, while walking along La Jolla's coastline.
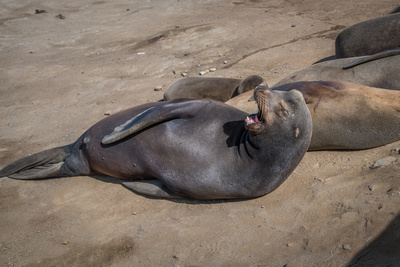
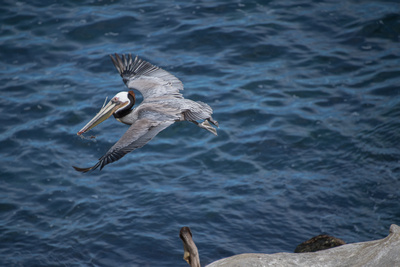
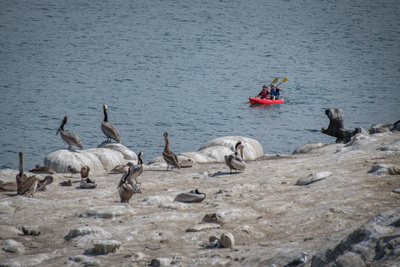
I still prefer using my DSLR for freezing motion.
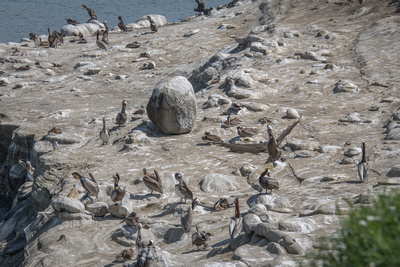
The 28-300mm DSLR lens also allows me to zoom in much closer over long distances than my iPhone while maintaining the quality of the image. The smartphone pinching method may get me close to my subject, but it uses both an optical zoom (up to 2x the distance) and a digital zoom (2x-10x the distance). So, what's the difference between optical and digital? Remember that smartphones and DSLRs both have built-in computers and camera parts. A digital zoom means that computer software controls the zoom function. An optical zoom means that camera parts control the zoom function. Most of a smartphone's zooming is accomplished with computer software. A DSLR uses its camera optics to control a zoom. Because computer software can cause pixelation, the farther out I zoom with a smartphone, the more pixelation I'm likely to see. It is especially noticeable when trying to enlarge or print the image. So, a DSLR lens can zoom much further and maintain quality.
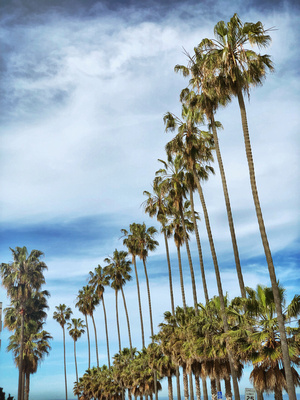
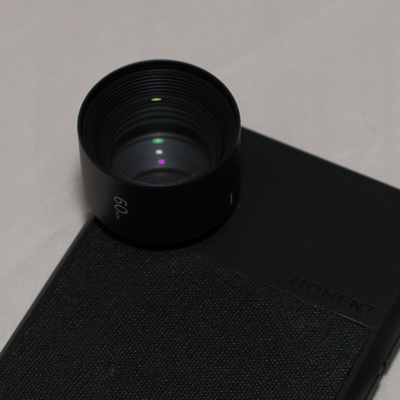
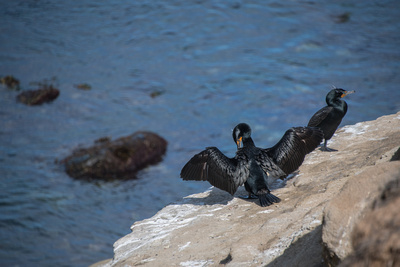
I don't completely avoid my iPhone for zooming, however. I try to limit my zoom to 2x (easier to do on some iPhones than others) and add on my tele lens. This increases the distance to 4x and maintains the optical zoom. On my photography outings these days, I consider just how close I want to get to my subjects. Will I be satisfied with the distance of my iPhone set-up, or do I want to get closer to my subjects with my DSLR set-up? I was happy with the iPhone/tele lens set up on the image below:
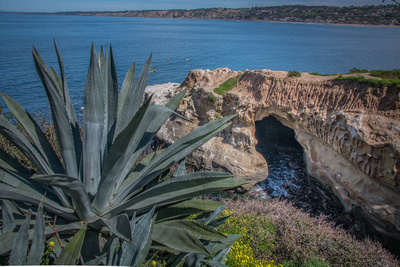
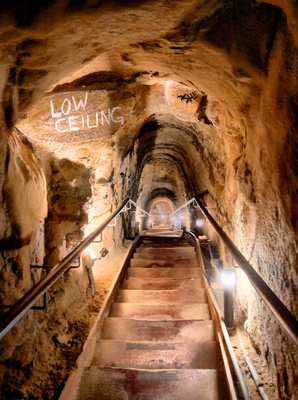
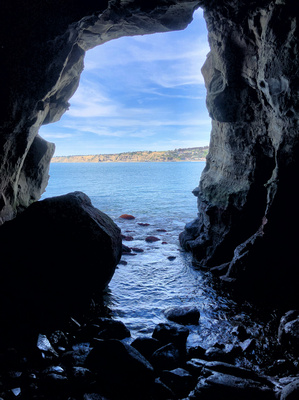
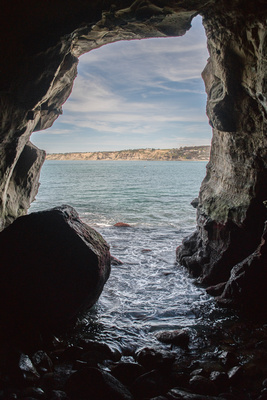
What about low light? My DSLR has always taken amazing images in these conditions, but the best images involve a tripod, remote shutter release, a different lens capable of letting in more available light, and experimenting with manual mode settings. Smartphone technology has improved to the point where I don't always need all of those extras to capture a low light photo. The images below were taken with my iPhone camera, hand-held, while visiting La Jolla's popular "Sunny Jim Sea Cave".
I also took a few handheld DSLR photos in the tunnel and cave. The tunnel photos weren't worth keeping. I did manage to get a hand-held DSLR photo looking out from the cave. Here's the image, for comparison purposes:
My DSLR did better than expected without a tripod set-up, although it required holding my camera as steady as possible while snapping five photos at different exposures (i.e., bracketing). After traveling home, I then combined those photos in post-processing on my computer to produce the above image. Pfew! In comparison, the iPhone pics (cave and tunnel) required no photography expertise other than a tap of a camera app. I did have to stand still for a second or two. The app did all of that processing for me and I left the scene with my final photos. Yes, a DSLR tripod set-up may have produced higher quality images, but I suspect the attendant would have stopped me from using it in either the tunnel or cave. The environment was fragile and the steps were too narrow in the tunnel. I would have blocked other tourists trying to visit. Given that I was simply exploring while on vacation (as opposed to taking photos for a paid shoot), inquiring about permission didn't seem worthwhile. And I was quite pleased with my hand-held iPhone photos!
Finally, when I carry both cameras, I always try to take a few similar images with each camera to compare the results. Hover over each image below to determine if it was taken with a DSLR or iPhone.
Are you wondering about printing? Due to technology advancements, I now regularly enlarge iPhone images to 16x20" without issues. I recently gave an iPhoneography demonstration to a group of elementary school students at their annual Art Fair. I showed the children enlarged prints from both cameras, so that they could compare. I was amused when several children exclaimed, quite confidently, that they preferred my iPhone images over the other! 😉 😃
And, yes, the word iPhoneography is actually being used in photography circles! Look it up in the Urban Dictionary, then embrace it! Become an iPhoneographer with me!
Keywords:
CA,
California,
instruction,
iphone,
iPhoneography,
La Jolla,
LaJolla,
learn,
photography,
photos,
smartphone,
SoCal,
Southern,
vacation,
workshop
|